INSTALLATION GUIDE
Stone Veneers Installation Guide - Tips by World-Class Architecture
Madrid’s beautiful architecture and aesthetics have often served as inspiration. Similarly, Stone Veneer brings you a comprehensive guide, inspired by Madrid’s finesse, for a flawless installation of stone brick slips. Remember, just like the city’s attention to detail, achieving perfection in your Stone Veneer project relies heavily on meticulous preparation and execution. Let’s dive right into it.
Madrid’s Steps to Achieving the Best Flexible Stone Veneer Installation
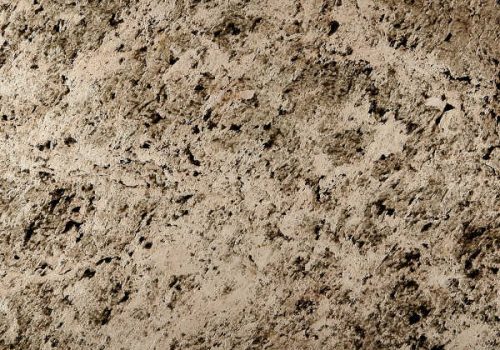
Achieve the best results with your Flexible Stone Veneer project by following our comprehensive guide on the installation of stone brick slips. We’re here to help you every step of the way, from preparation to finishing.
Here are a few tips & tricks to achieve the best results with your Stone Veneer project.
Prepping
Starting on the right foot is crucial. Ensure your base area is squeaky clean and entirely dry. Lay out all your essential tools: your chosen Flexible Stone Veneer sheets, saw, sandpaper, primer, paint, and any other necessary materials.
Water Proofing
Before the actual installation begins, the surface needs to be waterproofed. This step ensures dirt repulsion from the veneer and a smooth surface to work upon. Opt for sprayers, rollers, or even a sponge to spread the waterproofing solution uniformly.
Metal Lath Attachment
Our Flexible Stone Veneer sheets are user-friendly, coming with a pre-attached metal lath. If your design demands customization or substrate building, rely on 3D lath adhesive for the attachment.
Preparing The Mortar
Use a thick coat of mortar as your base. The instructions on your mortar package should guide you. Crucially, horizontal grooves should be raked into the scratch coat before it dries. This ensures proper mortar moisture and a well-composed installation.
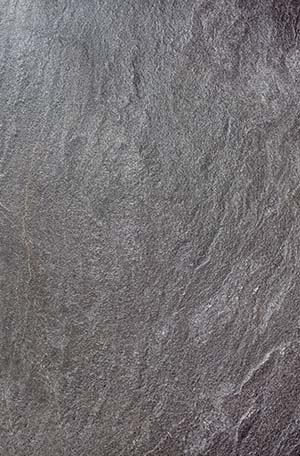
Getting The Stone Veneers Ready
Before mounting them, it's essential to trim and cleanse the veneers. The bond coat, which hydrates your veneers during installation, should be built using a regular scratch coat.
Placing The Stone
Begin from the edges and work inwards, pressing each stone into the bond coat firmly. This method results in a systematic pattern, emulating natural stone.
The Finishing Touches
The gaps between the veneer and the lath should be sealed with grout. Once sealed, brush the entire surface to achieve a neat, uniform appearance. For added resilience against potential stains and spillages, sealing your Flexible Stone Veneers is recommended.
Seoul Macedonian Touch
As an added tip, the quality of your Flexible Stone Veneer is much like the exquisite nature of SEOUL MACEDONIAN. Always choose the best to ensure longevity and the finest look. Need assistance or expert advice? Dive into the world of Flexible Stone Veneer and let us guide you in bringing your vision to life.
